How to Compress Images for WordPress Without Plugins
2025-01-01 • Manan Patel
In the world of web development, speed is king. If your website takes more than three seconds to load, you are likely losing half of your visitors before they even see your content. The biggest culprit behind slow loading times? Unoptimized, bulky images. While many developers reach for heavy plugins to solve this, learning how to compress images manually can significantly improve your site's performance and security.
In this guide, we will explore the most effective methods to compress image files before they ever reach your WordPress media library, ensuring your site remains lean, fast, and SEO-friendly.
Why You Should Compress Images Without Plugins
While plugins like Smush or ShortPixel are popular, they come with hidden costs. Every plugin you add to WordPress increases the load on your server, adds potential security vulnerabilities, and can sometimes conflict with your theme.
By choosing to compress images before uploading them, you gain:
-
Total Control: You decide the exact balance between file size and visual quality.
-
Faster Backend: Your WordPress admin dashboard remains snappy because it isn't processing background tasks.
-
Zero Cost: Many high-quality plugins require monthly subscriptions once you hit a certain limit. Manual tools are often free.
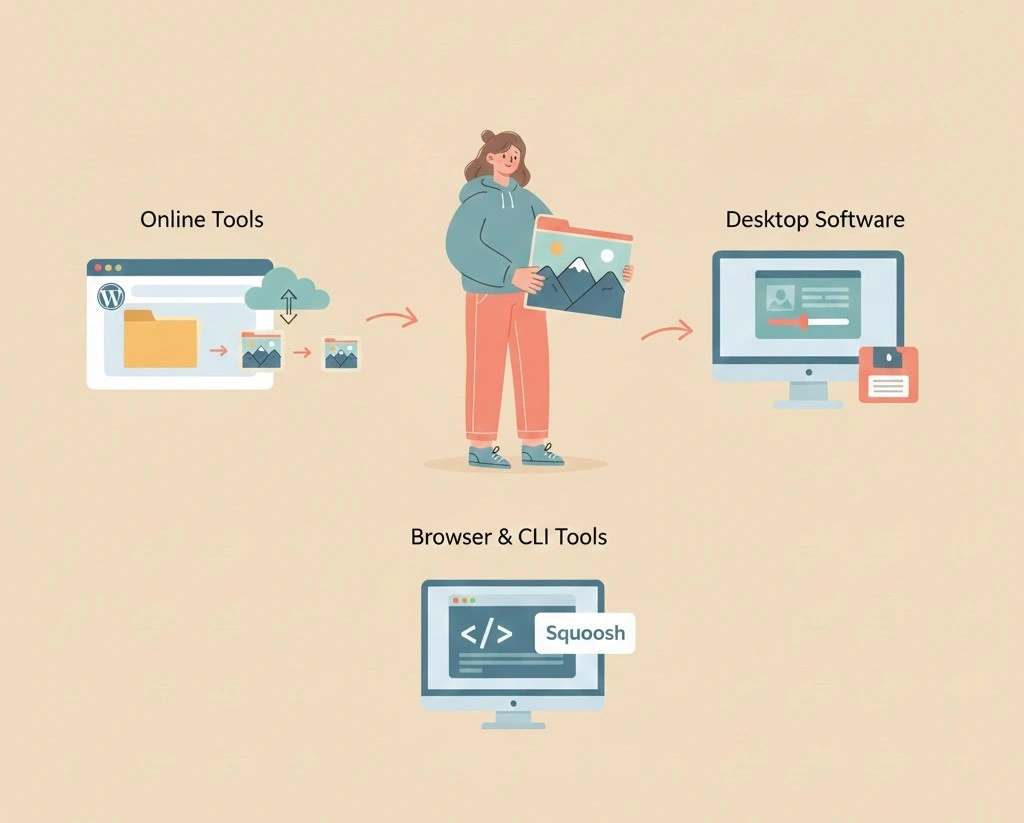
Method 1: Use Online Professional Compression Tools
The most efficient way to compress images without touching a single line of code is by using dedicated web-based tools. These platforms use advanced algorithms to strip away unnecessary metadata without degrading the visual quality of the photo.
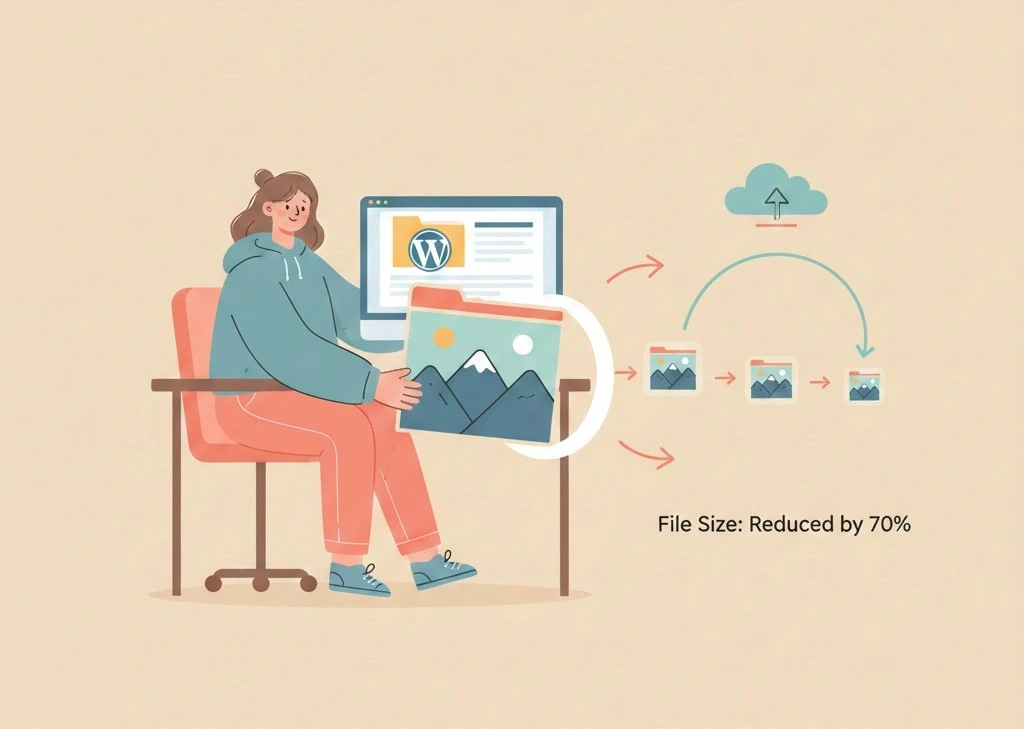
For a fast and reliable experience, you can use compressimagepro.com. This tool allows you to batch-process files, which is essential if you are preparing a large gallery for a new blog post.
Steps to Compress Your Files Online:
-
Navigate to compressimagepro.com/image-compress.
-
Drag and drop your JPEG, PNG, or WebP files into the uploader.
-
Adjust the compression level if needed (though the "Smart Compression" usually gets it right).
-
Download the optimized files and upload them directly to your WordPress Media Library.
Using an external tool to compress image files ensures that your server resources are preserved for your visitors rather than being spent on heavy processing tasks.
Method 2: Optimize Images Using Desktop Software
If you prefer working offline or have a high volume of professional photography, desktop software provides the most granular control.
Adobe Photoshop (Save for Web)
Photoshop remains the industry standard. To compress images in Photoshop:
-
Go to File > Export > Save for Web (Legacy).
-
Choose JPEG and set the quality between 60–80%. This is the "sweet spot" where the human eye can't detect quality loss, but the file size drops by up to 70%.
-
Ensure the Progressive box is checked for better web loading.
GIMP (Free Alternative)
GIMP is a powerful, open-source alternative to Photoshop. When you export an image as a JPEG in GIMP, a dialog box appears allowing you to "Show preview in image window." This lets you see exactly how the image looks as you slide the quality bar down to compress the image.
Method 3: Utilizing Browser-Based Squoosh
Squoosh is an open-source tool developed by Google Chrome Labs. It is incredibly powerful for one-off image optimizations because it allows you to compare the original and the compressed version side-by-side in real-time.
To compress images with Squoosh:
-
Upload your image.
-
Select your output format (WebP is highly recommended for WordPress).
-
Use the slider to see the "before" and "after."
-
Download the result once you reach your target file size (ideally under 150KB for blog images).
Method 4: Use Command Line Tools (For Advanced Users)
If you are a developer or a power user, you can compress image files in bulk using the command line. This is the fastest way to handle hundreds of images at once.
-
Jpegoptim: Great for JPEGs. A command like
jpegoptim --size=100k photo.jpgwill force the image to be exactly 100KB. -
OptiPNG: A command-line tool that provides lossless compression for PNG files.
Best Practices for WordPress Image Management
Simply knowing how to compress images isn't enough; you also need a strategy for how those images are handled within the WordPress ecosystem.
1. Choose the Right File Format
-
WebP: The gold standard for the modern web. It offers superior compression compared to JPEG and PNG.
-
JPEG: Best for photographs or images with many colors.
-
PNG: Use only when you need transparency or for simple graphics/logos.
2. Resize Before You Compress
Never upload a 4000px wide image if your blog post container is only 800px wide. Use your desktop editor or compressimagepro.com to resize the dimensions first, then compress the image. This "double-punch" approach results in the smallest possible file sizes.
3. Define Image Dimensions in HTML
While this doesn't reduce the file size, it prevents "Layout Shift," which improves your
Google Core Web Vitals score. WordPress usually does this automatically, but it's good practice to ensure your
images have width and height attributes.
The Impact on SEO and Core Web Vitals
Google’s ranking algorithm heavily weighs user experience, specifically through a metric called Largest Contentful Paint (LCP). LCP measures how long it takes for the largest element on the screen (usually a hero image) to load.
When you compress images effectively:
-
Your LCP score improves, leading to better rankings.
-
Your Bounce Rate decreases, as users don't leave out of frustration.
-
Your Bandwidth usage drops, which can save you money if you have a metered hosting plan.
Summary of Tools to Compress Images
| Tool | Best For | Platform |
| Compress Image Pro | Fast, high-quality bulk compression | Web-based |
| Squoosh | Visual comparison & WebP conversion | Web-based |
| Photoshop | Professional-grade manual control | Desktop |
| ImageOptim | Mac users who want "drag & drop" simplicity | Desktop |
Conclusion
Learning how to compress images without plugins is a vital skill for any serious WordPress site owner. It keeps your installation clean, your loading speeds lightning-fast, and your SEO rankings high. By using professional tools like compressimagepro.com/image-compress, you can achieve professional results in seconds without the bloat of extra software.